Hard boiled eggs. Something that's been around forever, yet I know many a person who laments making them because whenever they go to peel them, the eggs themselves end up mangled.
So today I'm going to go step-by-step through the process of successfully boiling and peeling eggs.
Now, I have two ways of boiling eggs. The best method and the quick method. Today I'm going to share the best method.
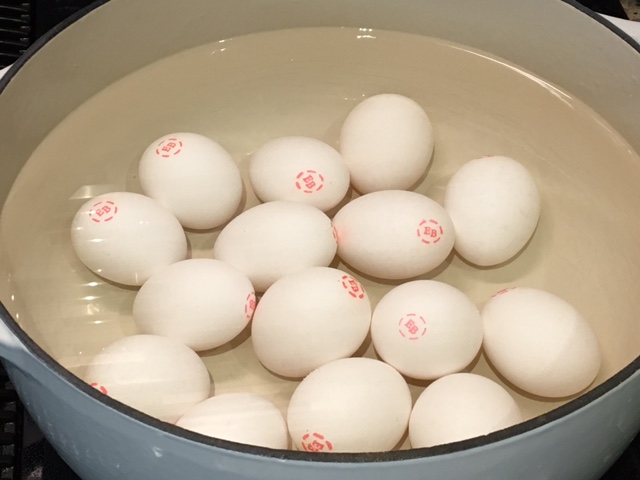
First, place your eggs, as many as you desire to cook, into a pot that has enough room to not only hold the eggs without crowding, but that will hold enough water to cover the eggs by at least an inch.
Place on a burner over high heat until water comes to a boil.
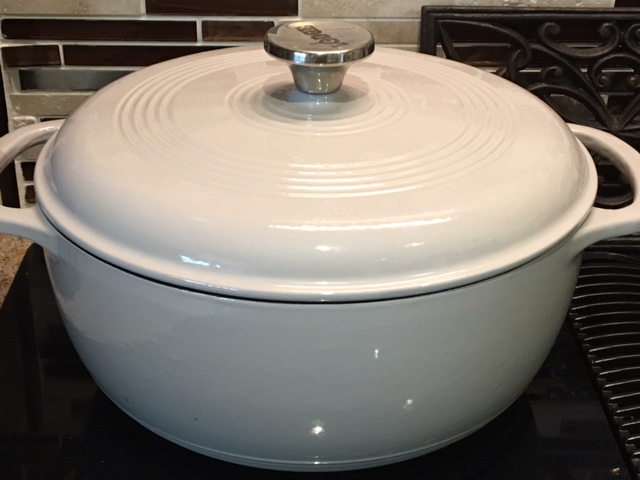
Once the water is boiling, cover with lid, remove from heat and set aside for 22-24 minutes.
Once the allotted time has passed, place pan in sink and remove lid. Drain off as much of the hot water as you can without losing any eggs, then add cold water and ice.
This stops the cooking process.
By the way, have you ever cut or bit into a hard-boiled egg that was green around the edges as opposed to a pretty yellow?
That's a sign of an overcooked egg.
Thank you, Emeril Lagasse, for sharing that tip on your show many years ago. :)
Once the eggs are cooled, it's time to peel them.
Sometimes eggs are tricky to peel because there is a membrane that sits between the shell and the egg white. To successfully peel an egg, you have to get through that membrane without taking a lot of the egg white with it.
The best way to do that is to get something between that membrane and the white. In this case, water.
So tap your egg on the counter a few times. Just hard enough to crackle the shell, but this is not the time to demonstrate your strength or you'll end up with a big mess.
It should look something like this.
Now run some water over that crackled egg.
Actually, I gently roll it between both hands, allowing the water to work its way under the shell and membrane, but I needed one hand to take the picture.
Sometimes you'll feel the shell almost slipping away from the egg. Other times, you'll need to pick a spot and start peeling. If it feels like it's stuck, roll it under the water some more until you can get that membrane away from the white.
Here's how mine looked. As you can see, while some were perfect, I still had a few ornery eggs where the membrane was stuck to the white and pulled some of it off during the peeling process. That's okay, though. Overall, these are some good looking hard boiled eggs.
But what am I going to do with all these eggs?
Well, we have a party to go to, so I'm going to turn them into deviled eggs. Deviled eggs are a family favorite and good just about anytime, but especially with Texas barbecue.
So I'll start by halving my eggs. I just use a paring knife to slice them lengthwise. Then I plunk the yolks into one bowl and set the whites aside to be filled later.
These are my weapons of choice when it comes to the filling for my deviled eggs.
Mayo, Dijon mustard, seasoned salt, ground black pepper and paprika.
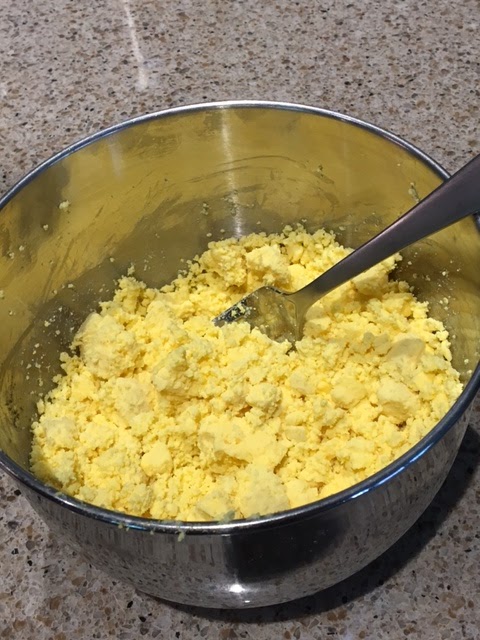
Start by crumbling the yolks with a fork.
Now add the mayonnaise, mustard (you can use regular yellow mustard if you prefer, but I like the extra tang of Dijon) and seasoned salt.
I had 15 eggs, so I started with a half a cup of mayonnaise, about a tablespoon/tablespoon and a half of the mustard and half a teaspoon of seasoned salt. If I were doing only 4-6 eggs, I'd start with 1-2 tablespoons of mayo and about a teaspoon of Dijon. It's not an exact science. Everyone has different tastes. The key is to start small then add more as needed. You don't want to add a ton of mayo then not be able to adjust the other stuff without getting it so thin it's hard to work with.
Stir all that up and give it a taste.
Needs more Dijon.
Perfect!
Now some pepper to taste...
And if you like yours with some relish,
Go ahead and add some of that.
Now it's time to fill those lonely egg whites.
Simply spoon up a dab of the yolk mixture...
And place it into the hole of the white.
(Yes, hubby took this one so I could use two hands)
If you want them to look fancy, you can put the yolk mixture into a decorating bag with a star tip like you would use for piping frosting and pipe the frosting into the holes of the whites.
Since we were going to a barbecue, I decided to keep things rustic.
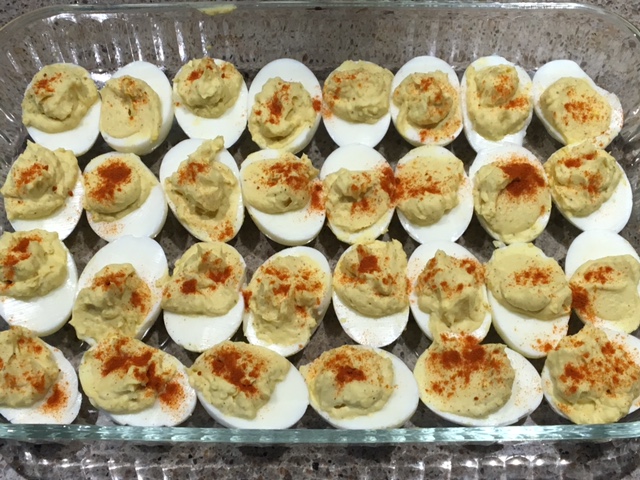
However, just like the proper accessories set off an outfit, these eggs need a little pop of color.
Paprika to the rescue.
The flavor is gentle and is such that it adds to the egg filling, not overpowers or detracts, and that's what you want from any accessory. ;)
These eggs are ready to par=tay!
So that's today's tutorial on hard boiled eggs.
Are you a hard boiled egg person? What's your favorite way to eat them?


 Award-winning author Mindy Obenhaus is passionate about touching readers with Biblical truths in an entertaining, and sometimes adventurous, manner. She lives on a ranch in Texas with her husband, two sassy pups, countless cattle, deer and the occasional coyote, mountain lion or snake. When she's not writing, she enjoys spending time with her grandchildren, cooking and watching copious amounts of the Hallmark Channel. Learn more at mindyobenhaus.com