In these weeks leading up to Christmas, I'm sharing some favorite holiday treats from the Obi house. Treats that are fun to share with your family, BUT will also bring joy to others. And this week we're continuing to keep things simple with Pretzel Turtles.

Here's what you'll need:
- Pretzel Squares (if you can't find the squares, you can use the mini twists)
- Pecan halves
- Individually wrapped soft caramels, unwrapped (I use Werther's)
- Milk chocolate for melting (or dark, if you prefer)
Notice that I didn't give any amounts. That's because you can make as many or few as you like. Just be sure to have equal amounts of pretzels, pecan halves and caramels.
Lightly toast your pecan halves either in a skillet on the stove or it the oven. Roughly 4-6 minutes, just be sure to toss them a time or two and watch them so they don't burn. Once they're toasted, set them aside to cool.
Preheat oven to 325 degrees.
On a baking sheet lined with a silicone mat or parchment paper, lay out your pretzels and top each with a caramel.

Bake 3-5 minutes, until caramel is soft, but not oozing.

Immediately press a pecan half into each melted caramel.

While those are cooling, melt your chocolate. I put mine in a measuring cup then microwaved it in 30 second intervals, stirring between each, until smooth. You can also melt them on the stove top with a double boiler or nonstick pan over low heat.

Once the pecan-topped caramels are cool, remove them from the pan. Spoon a 1 to 1 1/2 teaspoon puddle of melted chocolate onto the silicone/parchment then carefully drop a pecan-topped pretzel into the middle like so.

Continue until all pretzels are nestled in chocolate.
Cool completely before serving.

These really are to-die-for. Dare I say, even better than the originals. They're sweet and salty chocolatey perfection.
For gift giving, simply place several in a festive tin or a cellophane bag tied with a pretty ribbon. Or simply serve them on a pretty plate. Trust me, your loved one(s) won't care once they bite into these delicious treats.
Will you be giving any gifts from your kitchen this year? If so, what's on your list?
 Award-winning author Mindy Obenhaus is passionate about touching readers with Biblical truths in an entertaining, and sometimes adventurous, manner. She lives on a ranch in Texas with her husband, two sassy pups, countless cattle, deer and the occasional coyote, mountain lion or snake. When she's not writing, she enjoys spending time with her grandchildren, cooking and watching copious amounts of the Hallmark Channel. Learn more at mindyobenhaus.com
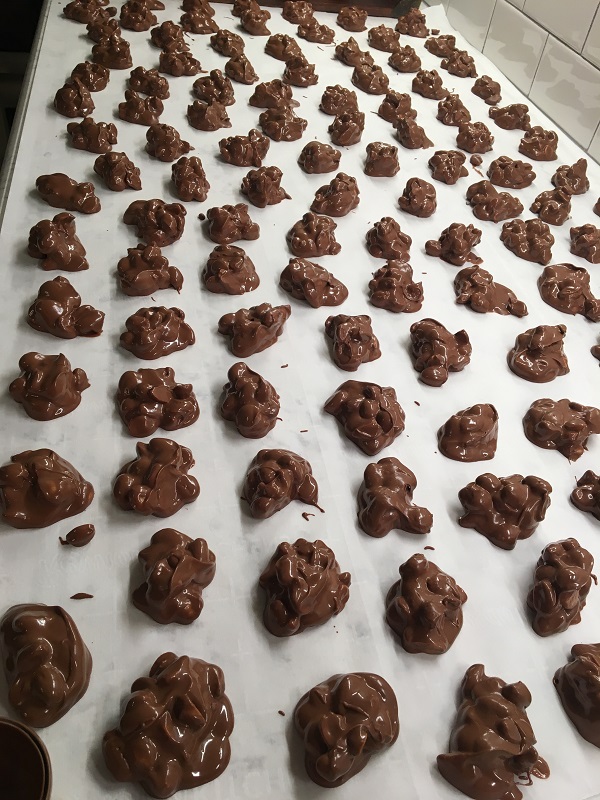


.jpg)
.jpg)
.jpg)
.jpg)
.jpg)
.jpg)


.jpg)
