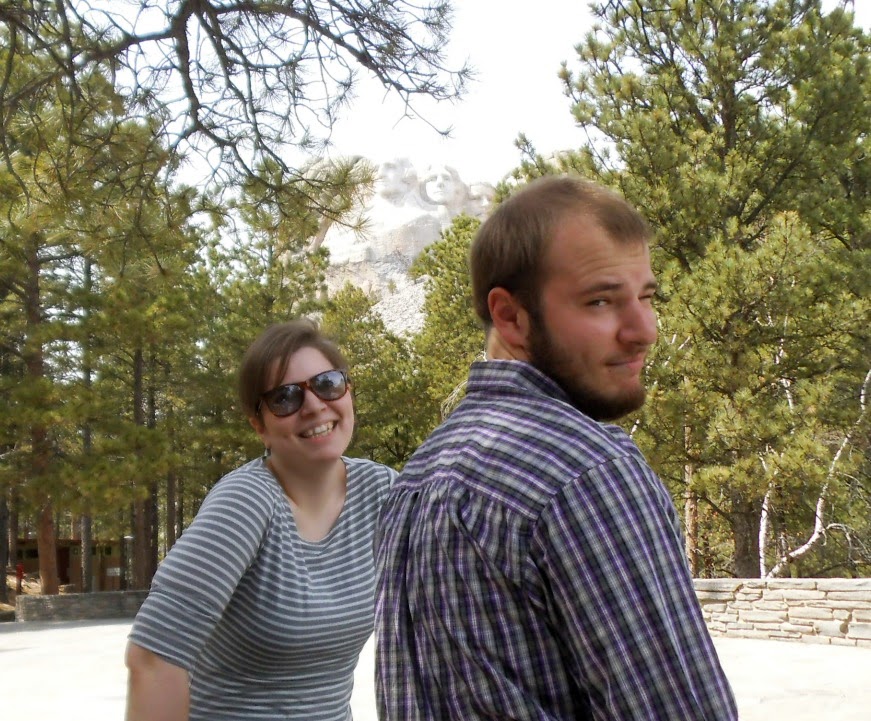
Showing posts with label Mt. Rushmore. Show all posts

Monday, July 4, 2016

Happy Independence Day!

We have folks from all over the country here at the Cafe, and we celebrate the 4th of July in as many different ways!

I thought I'd talk just a bit about how people celebrate the 4th in western South Dakota.


Because out here, where the sky meets the land some fifty or a hundred miles off in the distance, we don't take freedom for granted.

This is where cowboys roam...


photo credit: Marty Bauman

...and work to keep the family ranches growing and intact for the next generation.

photo credit: Marty Bauman

This is where neighbors are neighbors, even if you've never met them before.

Where people work hard and and play harder... and pray the hardest of all.

And when Independence Day arrives, we celebrate!!!

The most awesome 4th of July celebration in our area is...

Wait a minute. I'm not sure I can say which one it is. It's a close tie between the festivities at Mt. Rushmore, where there are no fireworks, but a great light show -


 - and the Black Hills Roundup, Rodeo and Parade just a few miles north of us in Belle Fourche (pronounced "bell foosh"). That's real cowboy country up there!

To see what all of the excitement is about, go here!

However you celebrate, I hope you're having the best Fourth of July ever!


Monday, April 28, 2014

Spring Salad

What a doozy of a winter this has been!

First we had this:


And then this:


Some more of this:


And plenty of this:


But now we're finally ready for some of this:


Sunshine and visiting the "boys on the hill." Now, this is what I call spring!

And spring means salads galore. Fruit, veggies, more veggies, more fruit....

Here's a simple salad I made for Easter dinner.

Spring Salad

Ingredients:

Spring lettuce mix, or spinach, or a combination
Strawberries
Feta Cheese
Slivered almonds
Raspberry Vinaigrette salad dressing


Throw everything together in a big bowl (amounts according to your taste), and toss well.

Is that easy-peasy, or what?

I used this Maple Grove Farms Sugar Free Raspberry Vinaigrette dressing I buy from Walmart, but any brand would do.

Or you can make your own with a tablespoon of minced onion, 1/4 cup olive oil, 1/4 cup apple cider vinegar, 1/2 teaspoon raspberry flavoring and a few frozen raspberries thrown in for color. Refrigerate for several hours before using.


The salad was scrumptious, and since we were eating with some folks from church at our pastor's home, the company was delightful.

Enjoy your spring days, everyone!

Monday, April 21, 2014

Dinner Rolls for Holidays...or any time!

I know this post is too late for Easter, but this recipe is so delicious that you'll want to try it this week.

Yes, yes, I know this is homemade bread - but really. Can it be that hard? After all, our grandmothers for generations back made bread every week, or maybe even every day if their family was large enough.

This is the recipe I cut my bread-making teeth on.

It started like this: Once upon a time (okay, it was the mid-70's) our family was visiting some friends, and our hostess served homemade dinner rolls. My dad took one bite, looked at me and said, "If you learn to make rolls like these, I'll double your allowance."

This is the mid-70's me. Yes, Gunne Sax dress and all :)


(By the way, I'm the only one who remembers him saying that...but I'm sure he did!)

I took him up on the challenge. I got the recipe from our hostess, followed the directions in Mom's old Betty Crocker Picture Cookbook, and made rolls. Batch after batch. They turned out tasty and delicious. From there I branched out to using different flours, different methods, different recipes...but this one is still my favorite. :)

Jan's Dinner Rolls

Ingredients:

2 packages instant dry yeast (or 2 Tablespoons)
2 cups milk
1/2 cup sugar
2 teaspoons salt
1/2 cup butter
2 eggs
2 cups whole wheat flour
4-6 cups all-purpose or bread flour

You can make this recipe completely by hand (like I did for years), or use a large capacity mixer (like I do now.)

First, heat the milk, sugar, butter and salt together. You can cheat and use the microwave, but I like to heat it up in a pan on the stove. But you don't want it to get too hot! Just warm enough to soften the butter.

Now, this is important! Before you do anything else, make sure your milk mixture isn't too hot. You want it to be lukewarm. You can stick a (clean!!!) pinky finger in to test it, or you can use a thermometer. If you do the finger test, it should feel slightly warm. If you use a thermometer, it should be between 110° and 115°.

(Does anyone know what happens if your liquid is too hot? It will kill the yeast. We don't like dead yeast. It makes hard, flat bread :(  )

Pour this into a large bowl (or your mixer).

Freshly ground wheat flour! Mmm-mm!


Add the two cups whole wheat flour, two eggs and 2 packages yeast. Wisk these ingredients together until it's smooth.

Let the batter rest for about twenty minutes.

Yes, I said rest. You want to wake up the yeast and let some of those flavors mingle.

After twenty minutes or so, add the rest of the flour a cup at a time, mixing each cup in completely before adding the next. If you're doing this by hand, use a large spoon, and stir it in until you can't stir the dough anymore. If you're using a mixer, use your kneading hook and add flour just until sides of your bowl no longer have dough sticking to them and the dough forms a ball.

This dough is just right - the sides of the bowl are coming clean,
and the dough is elastic.

BUT - be careful not to add too much flour. Too much will make your bread heavy and stiff. Too little will make it hard to handle. This is where practice comes in....

Now it's time to knead the dough.

If you have a mixer, set your timer for seven minutes, and let the mixer work.

If you're kneading the dough by hand, sprinkle your clean counter or bread board with about a cup of flour, and then knead. Fold one side of the lump of dough over onto the other, and push down. Turn the lump a quarter turn and repeat. Do this until the dough is smooth and elastic - about five minutes or so.

After kneading, you need to let the dough rise. In a mixer, just cover the bowl and let it sit. If you're making it by hand, put the dough into a greased bowl and cover with a damp towel.

Wait for about forty-five minutes, or until the dough is doubled.

Now comes the fun part! Divide the dough into forty-eight balls - they'll each be about 1 1/2 inches in diameter - and put two balls in each part of a muffin tin. Be sure to grease your tins!


If you don't have two muffin tins, you can make thirty-six balls and space them out on a greased cookie sheet (with sides).

Cover the rolls, and let the dough rise another forty-five minutes or so.

Bake in a 350° oven for 18-20 minutes, or until lightly browned. As soon as you remove them from the oven, brush melted butter onto the top of each roll (optional, but makes the crust softer).


Enjoy!

It takes about three hours for me to make these rolls, so if I make them in the morning, I have the afternoon to play!

On Saturday we took our first trip of the year to Mt. Rushmore.


Even this early in the year, there were quite a few tourists there.

Cute story - on one of our visits last year, on the very spot where I took this picture, we witnessed a young man proposing to his girlfriend! He must have been pretty confident, because the whole family was there - parents, grandma, brothers and sisters. What a memorable place for a proposal!


On this visit I saw something I had never noticed before. The faces of the presidents are carved so carefully, but the hair? Look at Lincoln's hair. It's natural stone. Lincoln's face just peers out from under the top of the mountain.

We also saw another mountain goat! This one was much smaller than last week's big guy licking salt off the road. This one was munching grass along the shoulder of the highway.

And what color is that grass? Green!!!

Spring has finally arrived!

Monday, February 17, 2014

Cherry Drop Dumplings with Fruit Juice

It's President's Day!

I'm sure there are a few of us who remember a time when there was no "President's Day." Instead, we celebrated Lincoln's Birthday on February 12th and Washington's Birthday on February 22nd.

When you add Valentine's Day to the mix, February was a golden month for elementary school students.

I'm not sure our teachers were all that thrilled, though!

But back in those days, we learned all about Abe Lincoln growing up in a log cabin, and how George Washington chopped down the cherry tree. Do you remember how we were all taught that little George admitted the deed to his father, saying, "I cannot tell a lie"?

Whether that event actually happened or not, we all grew up knowing that honorable, trustworthy and truthful people could grow up to be president.

And, as a result of that little anecdote, cherries became the food of the day on Washington's Birthday.

I'm definitely one to help tradition along, so I scrounged around and found a recipe that is probably as old as George himself.

One way you can tell this is an oldie, but goodie, is it's simplicity. No fancy ingredients - just what a farmer's wife would have on her pantry shelves in the middle of winter.

Cherry Drop Dumplings with Fruit Juice
serves 6

Ingredients:

Sauce:
3 cups cherries, canned with water or juice
1/2 cup sugar
2 cups water

Dumplings:
1 1/2 cups flour
1/2 cup sugar
2 teaspoons baking powder
2 Tablespoons butter
1/2 cup milk
1/2 teaspoon vanilla

For the sauce, bring the cherries, sugar, juice and water to a boil in a large saucepan (mine is 3 quarts) over medium high heat.


Meanwhile, make the dumplings. Stir the flour, sugar and baking soda together. Cut in the butter until the mixture is crumbly. Add the milk and vanilla, stirring until the dough resembles a soft biscuit dough.

Drop the dough by spoonfuls into the boiling cherry mixture, then lower the heat to medium and continue cooking for 20 minutes, or until the dumplings are done.


Serve with milk or cream.


In spite of the odd name, this was a delicious dessert! You'll have to try it.

Let's celebrate President's Day with a fun game - what presidential trivia can you share with us?


Monday, April 29, 2013

Baked Spaghetti, Mid-Western Style

FINALLY!!!! We have spring in the mid-west!!!

Daffodils are blooming, along with Forsythia! The grass is greening up, and I'm ready to set up my garden bed this week (no planting until after Mother's Day, though - it isn't THAT warm yet!).


On Thursday our church hosted a meeting of area pastors and church leaders from our denomination...and since we live in the Black Hills, and most of them live in eastern South Dakota and Minnesota (think prairies), many brought their families for a mini-vacation.

After lunch, our pastor's wife and I took any non-meeting-attendees who desired up to see the boys on the Hill. 

And this guy was gracious enough to pose for a picture: 

Even with all of our fun tourist activities, we got back to the church kitchen in time to stick our pre-assembled casseroles in the oven. They were delicious, and I thought you'd love the recipe as much as I did.

Baked Spaghetti


Ingredients:

2 - 14.5 oz cans of diced tomatoes
2 - 8 oz cans of tomato sauce
1/2 cup diced onion
1/2 cup diced green pepper
2 cloves garlic, chopped
1/4 cup chopped fresh parsley leaves
1 1/2 teaspoons Italian Seasoning
1 1/2 teaspoons Seasoning Salt
1 1/2 teaspoons sugar
1/2 teaspoon salt
1/2 teaspoon pepper
2 small bay leaves
1 1/2 pounds Italian sausage

8 oz uncooked angel hair spaghetti

2 cups grated cheddar and Monterey Jack cheese blend

In a stockpot, cook the Italian sausage until done. Drain the meat. Return the meat to the pot and add the tomatoes, tomato sauce, onions, peppers, garlic, parsley, seasonings, sugar, and bay leaves. Bring to a boil, then reduce heat so the sauce simmers. Cover the pot and simmer for 1 1/2 hours. Remove the bay leaves after cooking.

Preheat your oven to 350°.

Cook the spaghetti according to the package directions.

Cover the bottom of a 9" x 13" pan with sauce. Add the spaghetti, and then cover it with about 1/2 of the cheese. Top with the remaining sauce.

(At this point you can refrigerate or freeze the casserole. Just be sure to add about 10 minutes to the cooking time if you're starting with a cold dish.)

Bake the casserole for 30 minutes, then sprinkle on the remaining cheese and return it to the oven for an additional 5 minutes, or until the cheese is melted and bubbly.


This was a great casserole for a crowd (we actually had six pans like this for all the people we fed!). It was full of flavor and had a nice spicy kick.

We needed a break after that busy, busy Thursday, so on Saturday, we went to the Badlands.

(If you click on this picture to enlarge it, you can see the ladder on the left.)


We love it there, but it really challenges your definition of beauty. Most visitors take the driving tour through the park, stopping at scenic turn offs to enjoy the view, but we like to get off the beaten path and away from the road.

This trail is labeled "strenuous."


We hiked about five miles on Saturday, using these trail markers to guide us:  (Can you see marker #2
off in the distance? You may need to click on the picture to enlarge it.)

And where else can you build a snow man in 90° weather?

It wasn't the quietest way to rest up from our Thursday activities, but oh, it was great.

Like Our GAL Julie says, I live in the coolest place on earth :)


And just for Kav, here are some four week old puppy pictures! We get second choice of one of these boys - it will be a hard decision!
Blue-collar Boy

Orange-collar Boy

Green-collar Boy


Monday, August 27, 2012

Easy Chocolate Eclairs

The Boys on the Hill
 Saturday was a beautiful day here in the Black Hills. We went to visit the Boys (actually, this time we only waved from the road - the place was packed), and went hiking in the "Wrinkled Rocks" area on the backside of Mt. Rushmore.

Yes, we did a lot of strenuous hiking and climbing. Fall is almost here - do you see the yellow leaves on that Aspen?
Fudge. Always fudge.
 After hiking we drove into Keystone for lunch.

No, not Keystone, Colorado. This is the Keystone that has a population of thousands from Memorial Day to Labor Day, and then from October to May the place shuts down - all except the taffy shop and the post office. You know, the important places!

We enjoyed sandwiches, people watching, and my daughter found a birthday present for her friend...

And motorcycles. A constant here all summer long.
Souvenir stores and restaurants. Are we in a tourist town?


And of course we went to the taffy shop :)


When we got home - hours and miles later, with loads of laundry waiting for me - I got ready to make a special dessert for Sunday, the official last day of summer around here.

School starts on Tuesday for our younger boys. College. Living at home. Schedule change and lots of money spent (theirs, not ours - we provide room and board, they take care of tuition). One is a freshman and the other is a sophomore. Our "first day of school" days are numbered!


So I made the Easy Chocolate Eclair recipe we were talking about here at the Cafe last week. It's the perfect special dessert for those days when you're pressed for time and energy.

Here's the recipe:


Filling:

1 (8 oz). tub frozen whipped topping, thawed
1 large (6 servings) box vanilla instant pudding
3 cups milk
1 (16 oz.) box graham crackers

Topping:

1 cup sugar
1/3 cup cocoa powder
1/3 cup milk
1/2 cup butter
1 teaspoon vanilla


Mix together the whipped topping, pudding and 3 cups milk. Place a layer of graham crackers in the bottom of a 9x13 baking dish (you can break them apart to fit), then cover with 1/2 of the pudding mixture. Repeat, and then add a third layer of graham crackers. (I never use all the graham crackers).

Now for the topping. In a saucepan over medium-high heat, stir together sugar, cocoa and 1/3 cup milk just until boiling. Remove from heat. Stir in butter and vanilla. Pour into a medium mixing bowl and cool, stirring often.

Hint: this is your time to change the laundry, or read a book, or take a cat-nap...

 Once it's cool, pour evenly over your eclairs. The topping will ooze its way around until the whole surface is covered.

Refrigerate for at least 12 hours. IF there are any leftovers, store in the refrigerator.

This is a great make-ahead for covered dish dinners. Once you make it, the only problem you have is keeping people from sneaking tastes ahead of time :)

And yes, you can substitute ingredients! If you make homemade pudding, use 3 cups and then don't use the 3 cups milk. Whipped cream can be substituted for the whipped topping - I think you'll need about 4 cups.

I've also had this made with Club crackers instead of graham crackers. They give it a very different, kind of sweet/salty taste.


Now, what about those boys who are starting school tomorrow?
The Sophomore


The Freshman (aka Drackler)


Off to the future...